
Workshop on wheels
I really like to tinker, that was always a part of me. If I think of something, I will often play around to see if it is doable. I also needed a way to repair parts of my Van when they broke, or at least investigate to know what’s the issue.
So I wanted to have some workshop space where I can play with electronics, soldering, a bit of wood working too. And I finally decided to bring my 3D printer in the Van. Let’s check this out!
Workshop space
Here you can see some pictures of how I use the desk space to tinker.


I put the screen aside so I can still have internet support upon eyes when needed.
Then I just arrange the desk with whatever I need
- For doing electronics I have a soldering iron and a soldering mat. I link myself to the Van ground which is linked to the car body to avoid any issues with electrostatic discharge.
- If I work with wood or more hardware stuff, I will go with the cutting mat to protect the worktop a bit.
The rear couch’s backrest make a nice additionnal worktop if needed. On the mattress, it is too unstable to work on, but still usefull to put things on.
Workshop storage
I’ve got two main storage places, an electronic one, and a more mecanical one.

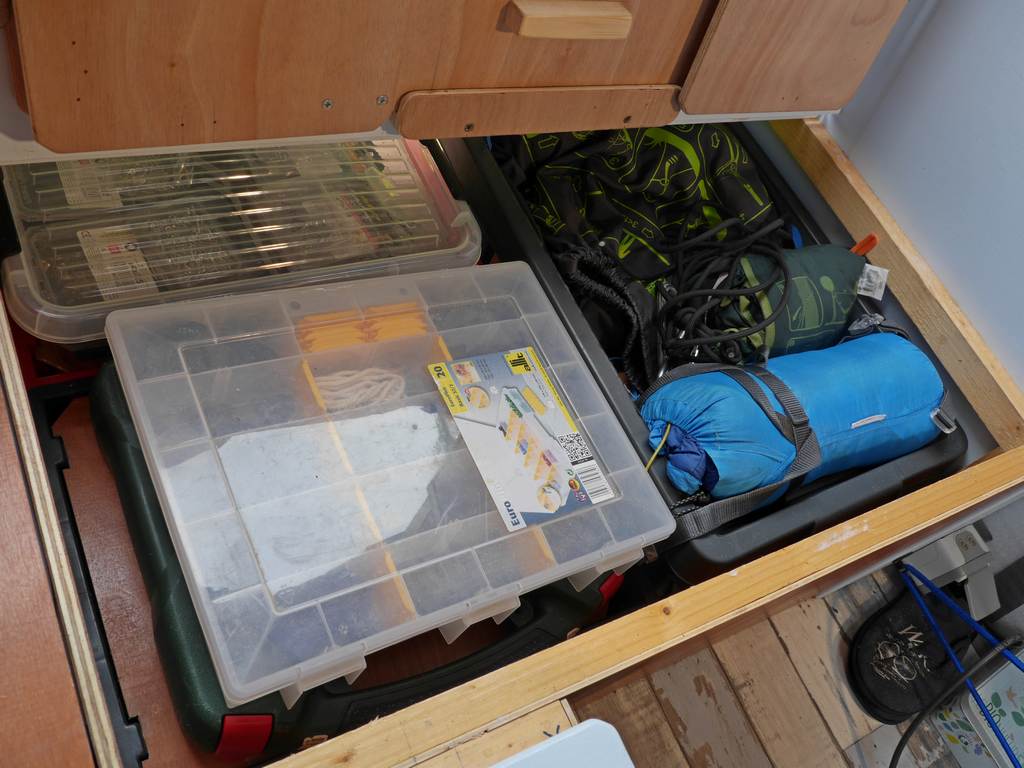
On the electronic storage there is
- Soldering tools: soldering iron, solder, soldering mat, twizzers
- For prototyping: breadboards, straps, jumpers, perfboard, wires
- A lot of components: resistances, diodes, ICs, DCDC converters
The power supply I use is always plugged to main, so it is easy to use when I need to. But because it is lying on the side, I have to get it out if I want to use more than two amps.
The Mecanical storage, is divided in two parts.
The big box on the right contain stuffs to repair the Van itself
- Basic tools, screwdrivers, keys
- Engine oil, braking fluid
- A little torque wrench
- A jack with special plates adapted for lifting the Van securely
The two boxes on the left are for repairing and upgrading the conversion
- Lots of screws, hinges, small items
- Handtools: little hammer, handsaw, screwdrivers, wrench
- A set of 3D printed jigs, and a bunch of already printed replacement parts
- Wiring tools: crimping tools, pliers, connectors, wires of differents gauges
- Powertools: a drill, a small router, a multi-tool, and a sander
That’s nice, now i can repair almost everything, but wait… What if the broken part was a 3D printed one?
My 3D printer
Yes, I’ve got a 3D printer in the Van!
I was not sure about it at the beginning of the build, but it helped me a lot with the conversion. So now I can print again a broken part, or upgrade it on the road.


This printer is rather old, and I bet I can have a better one for a few hundred bucks now, but I like it. I know it very well and for now I’m gonna use that one. But I definitely plan to change at some point!
I modified it so it can print PETG, which is a more heat resistant plastic than the regular PLA used. It fit my needs for all my parts.
It was also modified to directly use the battery instead of 230V setup, to save some power. But I can still switch between the two mode. As the whole plate with the 3D printer can be transported, I can print in someone’s house when needed.
Having a 3D printer on the road has proven useful many times! And it is still for me a really great experimentation going on.
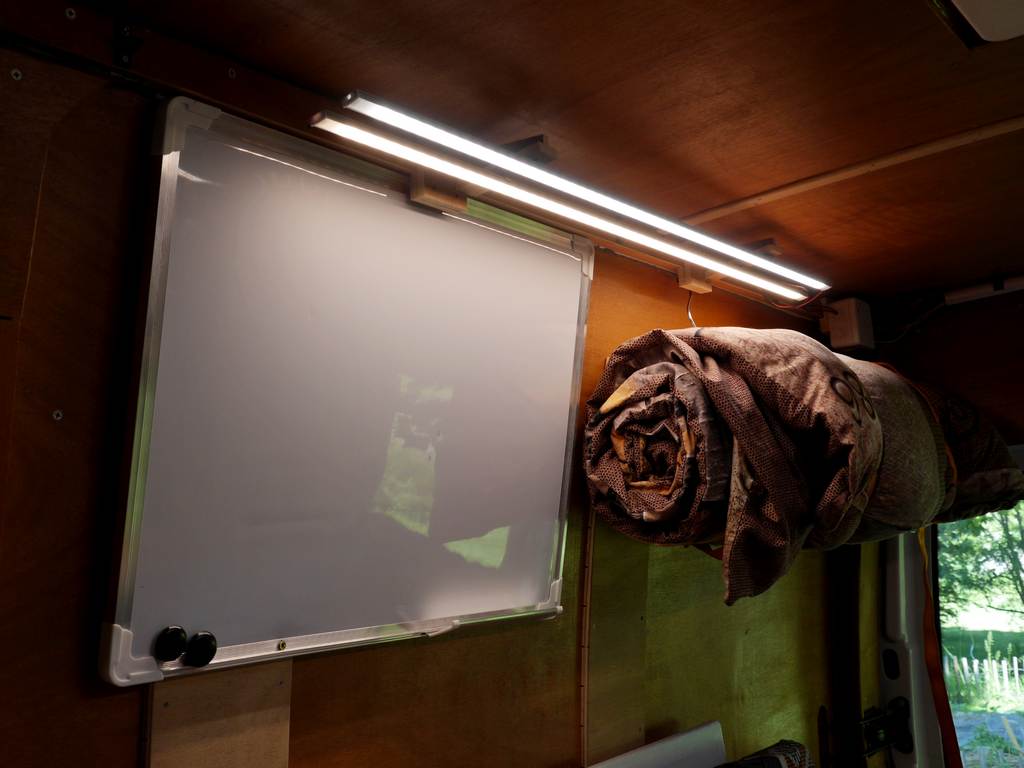
The whiteboard
I almost forgot, here is my whiteboard, I couldn’t do much without it!
So what do you think of my little, but efficient workshop setup in my Van?
I hope that this can inspire you for your own conservion. Whatever your hobby is, I think you should find a way to take it with you if you plan to live full-time in a Van.
If you want to see more of my build, you can check out my others Van presentation posts!

bracahme
Robotics coding engineer, tinkerer, juggler and author of this website. I patiently thought and carried out the conversion of the DIYVan in which I live and work now. I never throw anything in the Trash without having taken it apart first.