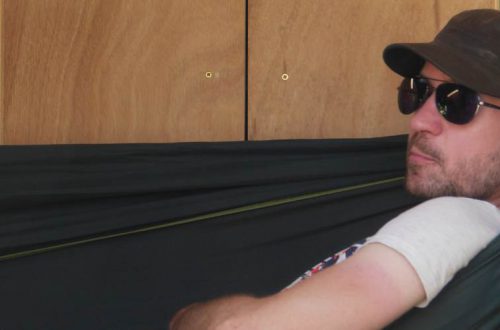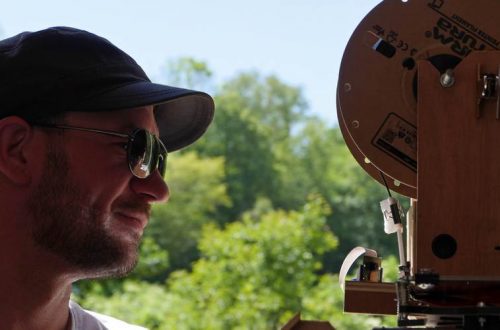

Working sized
The DIYVan was going to be my home for some time, so I wanted to be able to work in it consistently.
For me, as a robotics code engineer, that mean sitting in front of a computer for several hours straight. Without back pain, wrist pain, and with the less discomfort possible.
Let’s see how I added a proper working space in my tiny Van!
The desk
First of all, I want to present you my desk, just to know a bit where you are in the Van.

A lot of features are located here, but the worktop is mainly use for tinkering, or emptying my pockets.
The shelves over it are great for dropping little items without worrying about them getting anywhere around while driving.
My proper working space
So, this is how I work!
I sit on the large size of the couch, with my keyboard stand over my legs, and put my monitor in front of me. There is a monitor mount so I can put it pretty much anywhere I want.

Got it!

a little word about ergonomics
- the keyboard stand has a fixed height for now, but I choosed it. While it doesn’t change, it fit my needs and I feel comfortable working on it.
- ergonomic mouse and keyboard works great for reducing wrist pain!
- this backrest of the couch was intentionally designed to have a very little slope, to keep my back as straight as possible.
- The fact that i have to move my monitor each time I get to work is actually great. Because this way it changes position over time according to how I feel. I’m pretty sure I wouldn’t adjust it so much if it wasn’t that way.
The keyboard stand has a little “flap” that you can see on the second picture, it helps improving stability as it is just lying on the mattress.
Easy to setup
Does it take a lot of time to setup? In fact, it take less than 30 seconds!
I wanted it to be really quick to minimize the effort to get in working state.
The keyboard and mouse are located under the desk, you just have to grab it. My monitor has a locking system to prevent it to go around when I drive, but it is really fast to unlock.
And then there is the keyboard stand.

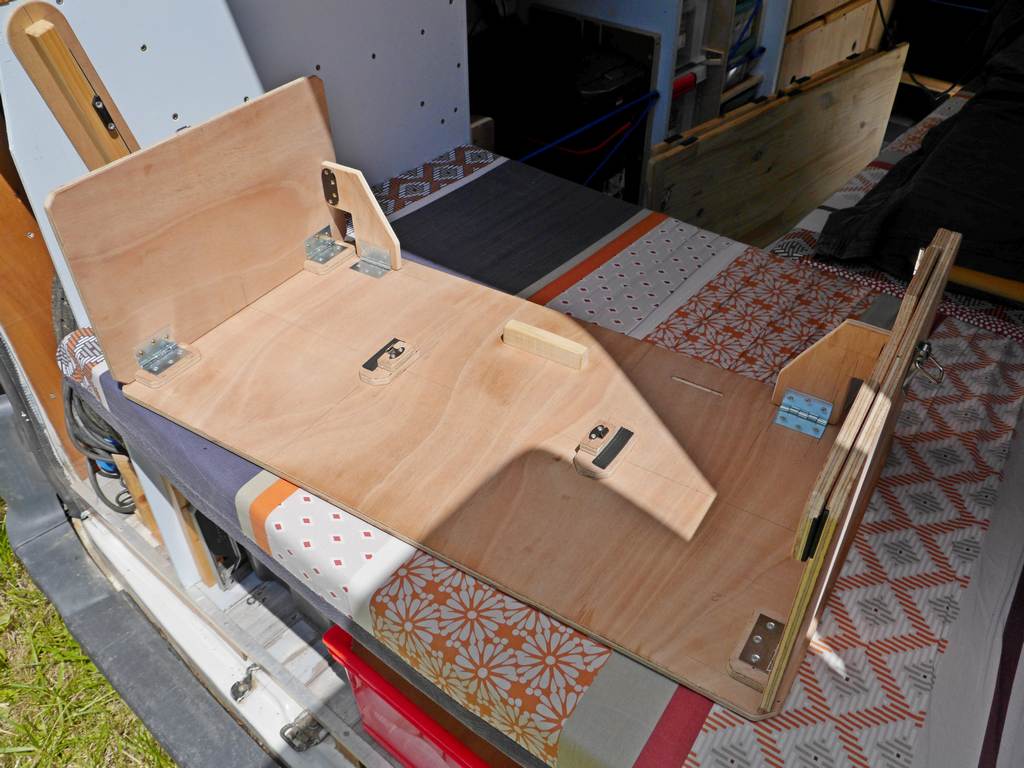
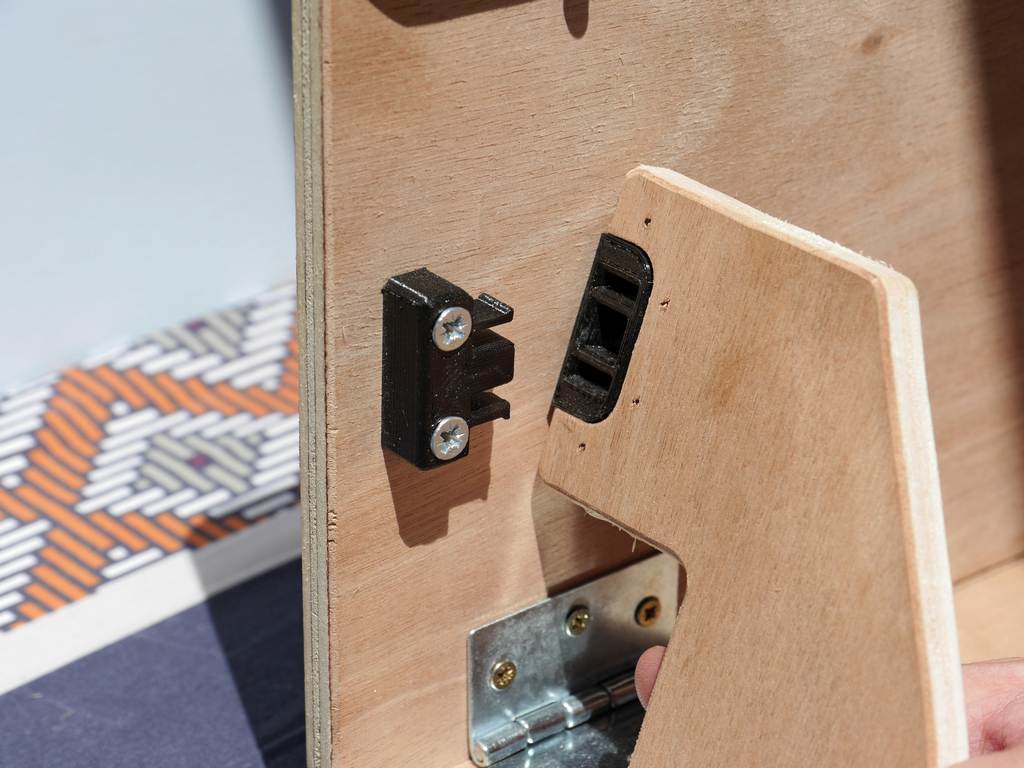
The location of the keyboard stand was an issue for me. Well, until I think about fixing it under the door of the rear couch part!
I just have to lift it a bit, and it can slide in and out. I added some handle to help with that and it work great.
Unfolding it is quite fast, and locking it in place with the 3D printed locking part is easy too.
Multimedia and charging space


There is another one in the other side.
Over the desk, on the shelves, there is two two-ways bass reflex loudspeakers, driven by a car audio amplifier. With a ground isolator on the lines too prevent any buzz that can happen in a setup like this.
It is linked to a 3.5 mm jack on the shelf so I can plug my computer or my phone on it.
I have got two USB chargers around. The one from the right has fast charge on two usb plugs, it is mainly used for my phone and my tablet. Whereas the one on the left has two plug, but no fast charge and is used for my e-cigarettes and my powerbank.
Internet
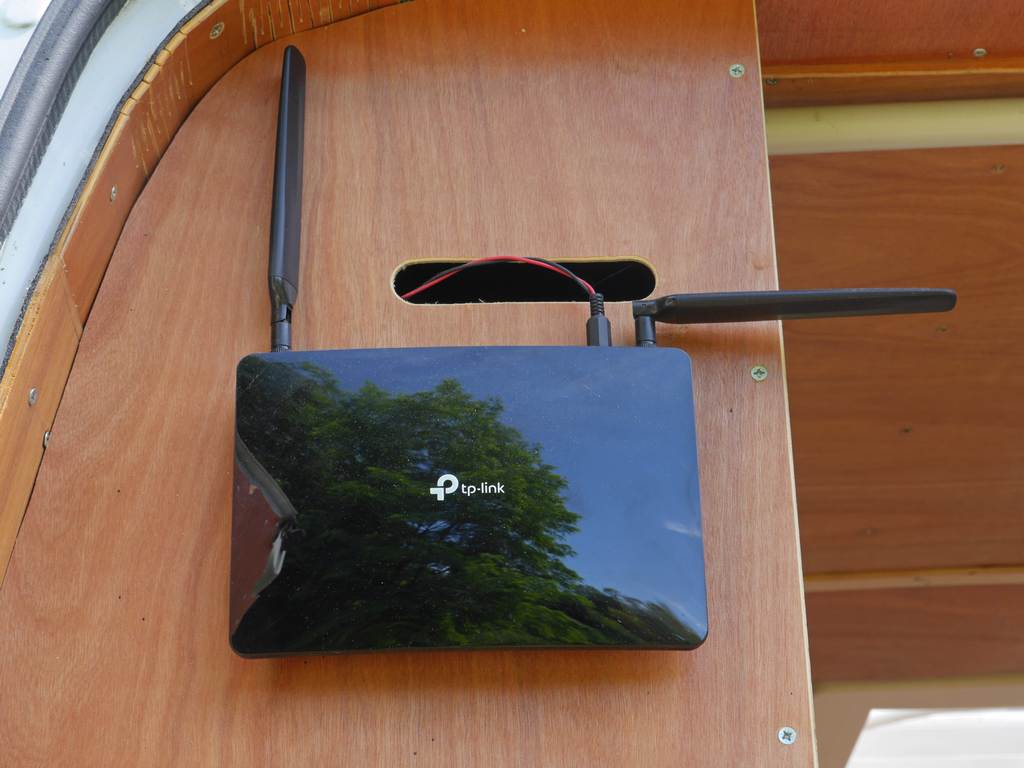
Well while you see lots of people using phone and a 4G repeater to do that, I’ve gone another way. In fact a 4G repeater will do exactly what it is called: it will repeat any 4G signal he found, and LOUD!
You want to have a power antenna repeating 4G for all the people around you, right inside your Van?
Nope, So I got a decent 4G router, used with a double SIM. That way I didn’t have to go on my phone or anything to setup, I juste always have WIFI on the road.
The current antenna has a far better range than my phone! And if it become not sufficient enough, I can change it for an exterior one.
It is hooked on a cheap DCDC converter that does the job and avoid using the produced 230V to power it. It helps for less power consumption.
The Computer
Laptop vs Desktop
I see a lot of nomads having a laptop for main computer, but I choose to have a mini desktop computer for several reasons.
The choice of using a latop seems right in that case, because you can take it wherever you want, and it has a really low power consumption. It also have its drawbacks when it comes to work decently with it.
If you want to work consistently with a laptop,
- You have to put it on a stand to get the screen at the height of your eyes to have a good posture
- Then you have to add a keyboard and a mouse, because the keyboard is no longer in a place where you can use it, and the keypad is definitely not usable for long
- You have to open it to start it
- You have to plug it into the mains
- You also have to find a way to put it a decent place where it can’t get hurt, or stealed
Well, despite the fact that I can’t easily get it out of the van, my setup is probably more practical.
So pros of a desktop computer
- no setup, just push the button to power on
- no wiring to do each time
- fixed, sit in place when I drive
- bolted, harder to steal
my little choice

So my current computer is a NUC8 by Intel featuring (for the NERDS)
- Intel® Core™ i5-8259U Processor (6M Cache, up to 3,80 GHz)
- integrated graphics Intel® Iris® Plus 655
- 16G of RAM DDR4
- 500G SSD NVME
- 2T HDD
Not bad! I’ve mounted the components myself, it is not a working horse, but it does the job nicely. It is a bit low for heavy tasks like compiling, but I work mainly in Python, so I don’t need to do that so often.
I can still play some old game despite the integrated graphics, Tomb Raider 2013 work flawlessly on it!
This kind of mini-PC are made mostly from laptop components, so it doesn’t consume so much power.
When I’ve chosen my computer, I’ve chosen the NUC for its relyability as AMD was new in mini PC, with still some issues. If I had to do it again, i would consider a mini-PC based on AMD Ryzen, because it has way better integrated graphics, and a lower power consumption too.
Let’s get back to work!
So that’s it! What do you think of my working setup? I can definitely work decently from my home on wheels!
I hope this help you figure out how you will work within your build, if this is your plan!
If you wanna see others parts of the build, I encourage you to see my others Van presentation posts!

bracahme
Robotics coding engineer, tinkerer, juggler and author of this website. I patiently thought and carried out the conversion of the DIYVan in which I live and work now. I never throw anything in the Trash without having taken it apart first.